
In Swift, a function is a reusable block of code with a name.
This function can then be called to perform a specific task with different inputs.
When you call a function, you execute the code inside that function.
To create a function, you need to:
- Use the func keyword to start the function.
- Give a name to the function.
- Define a list of function arguments (optional).
- Specify the return type of the function (optional).
- Implement the function behavior inside the curly brackets.
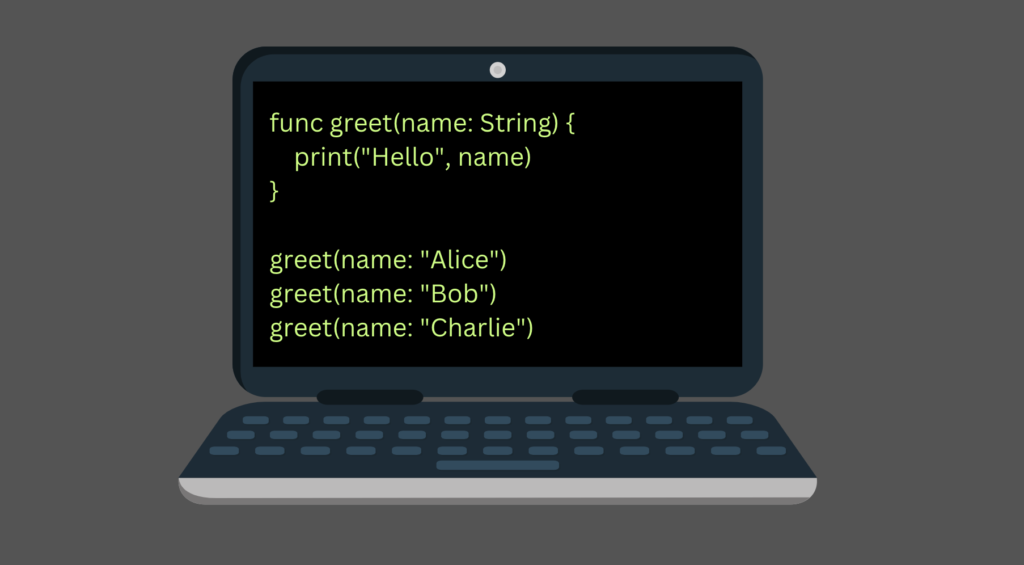
For example, let’s create a function that greets a person by their name:
func greet(name: String) {
    print("Hello", name)
}

greet(name: "Alice")
greet(name: "Bob")
greet(name: "Charlie")
Output:
Hello Alice
Hello Bob
Hello Charlie
Here we define a function called greet().
It takes a name as an argument and greets the person with the name.
In the last three lines, we call the function with different inputs. As a result, we see different outputs based on the inputs.
In this chapter, you are going to learn how to use functions in Swift.
After reading this chapter, you know how to reuse code by implementing functions that take parameters and return values.
What Is a Function?
In a mathematical sense, a function relates an input to an output.
A function takes in a parameter, performs an action on it, and spits out a result.
The idea of a function in programming is similar.
In programming, a function is a self-contained block of code used to perform a specific task.
Similar to a function in mathematics, a function in programming can also perform an operation on input and return an output.
For example, you can write a function to a variety of different tasks, such as:
- Convert a string to uppercase.
- Add two numbers and return the result.
- Change the background color of a view.
- Send a network request.
- Play a soundtrack.
Or anything that sort.
As you might imagine, there are countless use cases for functions in Swift.
The main benefit of a function is you can:
- Write a piece of code.
- Give it a name.
- Call it later on.
Thus, a function is a reusable piece of code.
Without functions, you would need to do a lot of repetition in your code.
With simple programs, like the ones we have written so far in this series, using a function has not been necessary yet. However, as we perform more complex tasks, it starts to make sense to wrap the code inside a function.
Functions in Swift
In Swift, you can wrap a piece of code inside a function and give it a name. You can then later use this function to run that piece of code with different inputs.
Syntax: Function Declaration
To create a function in Swift, use the func keyword and the following syntax:
func myFunction(param1: Type1, param2: Type2, ... , paramN: TypeN) -> returnType {
   // actions
   return object
}
This is the full syntax of a function in Swift. This function takes n arguments of n data types. Furthermore, it returns a specific type of value.
Let’s take a closer look at the function declaration above:
- The func keyword lets Swift know there is going to be a function.
- myFunction is the name of the function. It can be anything you want.
- param1: Type1, param2: Type2, … , paramN: TypeN is the optional arguments list. Each function argument must specify its data type.
- -> returnType specifies the data type of the value that the function returns. A function does not have to return a value, but if it does, the return type must be stated.
- Inside the curly brackets, you implement the behavior of the function. Here you can use the arguments given to the function.
- If a function returns a value use the return keyword.
This is the complete syntax for creating a function in Swift. If this makes no sense to you, do not worry. You are not supposed to learn without examples.
Before seeing some examples, there is one important thing you need to learn.
This is of course how to use the function.
Let’s talk about how to call a function in Swift.
Syntax: Calling the Function
Given a function, you can call it by its name and provide it with the possible arguments it requires:
myFunction(param1: val1, param2: val2, ... , paramN: valN)
Here val1, val2, … , valN are the values for the arguments that the function takes.
That’s it for the theory.
Now let’s see examples to truly understand how functions work.
We are going to start with the simplest function possible. This function takes no arguments and does not return a value:
func sayHello(){
    print("Hello world")
}
All this function does is print “Hello world” to the console.
To call this function, you use its name followed by parenthesis:
sayHello()
Output:
Hello world
Even though the formal definition of a function looked rather ugly, this example was pretty easy to understand, wasn’t it?
Printing a value is not the same as returning a value. When you print a value, the function only spits it to the console. It does not give the value back to the program to be used. So the function really does not return anything!
Next, let’s talk about the scope of a function in Swift.
Function Scope
In Swift, a function has a scope that restricts access to the function.
Any variable or constant you declare inside a function can only be used within the function.
Let me show you an example.
Here is a function that sums up numbers 1 and 2 and shows the result in the console:
func addNumbers(){
    let a = 1
    let b = 2

    let sum = a + b
    print("The result is", sum)
}
Let’s call this function:
addNumbers()
This results in the following message in the console:
The result is 3
This works as you expected.
But if you try to access the constants a or b outside the function, you are going to face an error:
func addNumbers() {
    let a = 1
    let b = 2

    let sum = a + b
    print("The result is", sum)
}

let otherSum = a + b
print(otherSum)
Output:
error: use of unresolved identifier 'a'
The error says it all. Swift does not know what the variable ‘a’ is.
This is because the access to the constants a and b is restricted to the function only.
If you think about it, the function scope makes sense. A function is a separate block of reusable code. You do not want it to interfere with other parts of the code.
Next, let’s talk more about the return values of a function.
Return Values
The most common way to utilize a function is to give it an input and get back an output.
In Swift programming, the output of a function is called the return value.
You can access the return value of a function by calling the function. The returning function returns the value back to the caller. You can store the return value into a variable or constant.
To implement a function that returns a value, you need to remember two things:
- Specify the data type of the returned value.
- Use the return keyword.
For example, let’s write a function that returns an integer value of 10:
func giveNumber() -> Int {
    return 10
}
Here:
- -> Int is used to tell Swift that this function returns a value whose data type is Int (an integer).
- return 10 returns an integer with a value of 10.
Now, let’s call this function, assign the return value to a variable, and print the result:
let number = giveNumber()
print(number)
Output:
10
But as you can see, this function does not do anything useful, as it always returns a 10.
Next, let’s see how to pass arguments into a function.
More importantly, you are going to learn how to use the input arguments to change the output of the function.
Function Arguments in Swift
In Swift, you can pass a function a number of arguments.
Inside the function, you can then use these argument values to perform an action.
Finally, you can return a result from the function.
To make your function accept arguments, you need to specify them in the implementation of the function.
More specifically, you need to:
- Give a name to each expected argument.
- Associate each argument with the data type by using a colon after the argument name followed by the data type.
This is way easier to understand via an example than from the theory.
Example 1
For example, let’s create a function that calculates the sum of two numbers and returns the result.
In other words, let’s write a function that:
- Takes two integer arguments.
- Returns an integer that is the sum of the two arguments.
Here is how it looks in code:
func add(a: Int, b: Int) -> Int {
    let sum = a + b
    return sum
}
Here:
- a: Int represents the first argument passed to the function.
- b: Int represents the second argument passed to the function.
- –> Int tells that this function returns a result which is an Int.
- Inside the function, you sum up the two arguments and return the result.
Next, let’s call the function with different inputs and store the results:
let sum1 = add(a: 1, b: 2)
let sum2 = add(a: 6, b: 5)
let sum3 = add(a: 31, b: 68)

print(sum1, sum2, sum3)
This shows the different sums in the console:
3 11 99
Example 2
In this example, we are going to implement a function that calculates the volume of a cuboid.
As you may recall from high school maths, given a cuboid of side lengths x, y, and z, the volume of the cuboid is x * y * z.
Let’s write a Swift function for calculating this:
func cuboidVolume(x: Double, y: Double, z: Double) -> Double {
    return x * y * z
}
Now, let’s call this function:
let width = 5.0
let length = 7.0
let height = 9.0

let volume = cuboidVolume(x: width, y:length, z: height)
print(volume)
Output:
315.0
Wildcard Argument Labels
In Swift, you can use the wildcard operator (_) in front of a function argument.
This lets you omit the argument label when calling the function.
You can use the wildcard label to simplify function calls when the argument label is clear from the context.
Let me show you what I mean.
Example 3
Take a look at this function you implemented earlier in this chapter:
func add(a: Int, b: Int) -> Int {
    let sum = a + b
    return sum
}
Calling this function is clumsy because you need to explicitly specify the label names a and b in the function call.
add(a: 1, b: 3)
Instead, it would be great if you could call the function like this:
add(1, 3)
By looking at this expression, it is still clear you try to add up two numbers.
Omitting the argument labels in Swift is possible by using the wildcard label names when implementing the function.
Let’s change the implementation of the add() function to include the wildcards:
func add(_ a: Int, _ b: Int) -> Int {
    let sum = a + b
    return sum
}
Now you can call the add() function without specifying the argument labels a and b:
func add(_ a: Int, _ b: Int) -> Int {
    let sum = a + b
    return sum
}

let sum = add(10, 20)
print(sum)
Output:
30
Next, let’s talk about default argument values with functions in Swift.
Default Argument Values
Sometimes you need a function that takes an argument such that if the argument is not specified, a default value is used.
In Swift, this is possible with default argument values.
With default argument values, you do not have to provide the argument when calling the function.
The function knows to use the default argument if the corresponding argument is missing in the function call.
Let’s see an example.
Example 4
Let’s write a function that greets a person given their name. If the name is unspecified, let’s use the default name “someone”.
Here is how it looks in code:
func greet(person: String = "someone") {
    print("Hello", person)
}
Now there are two ways you can call this function:
- Give it a person’s name as an argument.
- Do not give it an argument at all.
Here is a bunch of calls to this function:
greet(person: "Alice")
greet()
greet(person: "Bob")
And here are the resulting messages in the console:
Hello Alice
Hello someone
Hello Bob
As you can see, the second function call did not involve arguments. In this case, Swift used the default person’s name, that is, “someone”.
This completes the theory part of functions in Swift.
Now, let’s see a comprehensive example that wraps up everything you’ve learned so far.
Examples
Before finishing this chapter, let’s see some examples of functions in Swift.
Once again, you should write these examples in your Playground file and play with them to get a better understanding of how they work.
Example 5: Compound Interest Function in Swift
To practice function writing skills, let’s write a compound interest calculator.
This function takes the interest rate, yearly investment, amount of years, and the initial investment as its arguments.
It then returns the total balance after N years.
Before writing the calculator function, let’s consider what we need it to do.
The calculator should take the following arguments:
- Interest rate.
- Yearly deposit amount.
- The number of years.
- The initial investment with the default value of $0.00.
The calculator should then compute the compound interest given these parameters. You can use a for or while loop to simulate the compound effect.
Last but not least, the function should return the result.
Here is how it looks in code:
func compound(interest: Double, yearlyDeposit: Double, nYears: Int, initialInvestment: Double = 0.0) -> Double {
    var total = initialInvestment
    for year in 1...nYears {
        total = interest * total + yearlyDeposit
    }
    return total
}
Now, let’s call this function for a bunch of bank accounts and saving plans:
let savingsAlice = compound(interest: 1.09, yearlyDeposit: 500.00, nYears: 7, initialInvestment: 1200.0)
print("Alice has $", savingsAlice)

let savingsBob = compound(interest: 1.07, yearlyDeposit: 2000.00, nYears: 13, initialInvestment: 18000.0)
print("Bob has $", savingsBob)

let savingsCharlie = compound(interest: 1.07, yearlyDeposit: 120.00, nYears: 13)
print("Charlie has $", savingsCharlie)
Output:
Alice has $ 6793.86428285053
Bob has $ 83658.49572304495
Charlie has $ 2416.8771431795685
Notice how we left out the initialInvestment in Charlie’s case. In this case, the function defaulted to using $0.00.
Now you have built a general-purpose compound interest calculator which is easy to use in different situations.
Example 6: The print() Function in Swift
Throughout this series, you have extensively used print() to display values.
Finally, it is time to understand what this mysterious piece of code really is.
Behind the scenes, the print() is just a regular function, that takes an argument and displays it in the console.
The print() function does not have a return value. Instead, it only displays the arguments in the console.
Earlier in this chapter, you saw an example of a function that prints “Hello world”.
func sayHello(){
    print("Hello world")
}
It is important to realize this function does not return anything. Instead, it only prints the “Hello world” string to the console.
This is why you do not need to specify the return value data type for this function.
Conclusion
And that’s a wrap!
To recap, a function lets you give a name to a piece of code and reuse it on demand.
Similar to functions in maths, a function in Swift can take arguments and return a value. However, a function does not necessarily need to take arguments or return a value.
To create a function in Swift, use the func keyword.
func greet() { ... }
If a function takes arguments, you need to label the arguments and specify their data types in the function implementation.
func add(num1: Int, num2: Int) { ... }
If a function returns a value, you need to specify its data type after the arguments list by using an arrow and the data type.
func add(num1: Int, num2: Int) -> Int { ... }
Then you should also return a value of that data type. Otherwise, the function causes an error.
func add(num1: Int, num2: Int) -> Int {
    return num1 + num2
}
Please, make sure to play with the example functions and write your own functions!
Happy coding!