
In Swift, you can use the switch statement to turn lengthy if-else statements into more concise and structured expressions.
For example, take a look at this if-else statement.
let num = 3

if num == 0 {
    print("0th")
} else if num == 1 {
    print("1st")
} else if num == 2 {
    print("2nd")
} else if num == 3 {
    print("3rd")
} else {
    print(String(num) + "th")
}
There is a lot of repetition and the code is quite long and somewhat verbose.
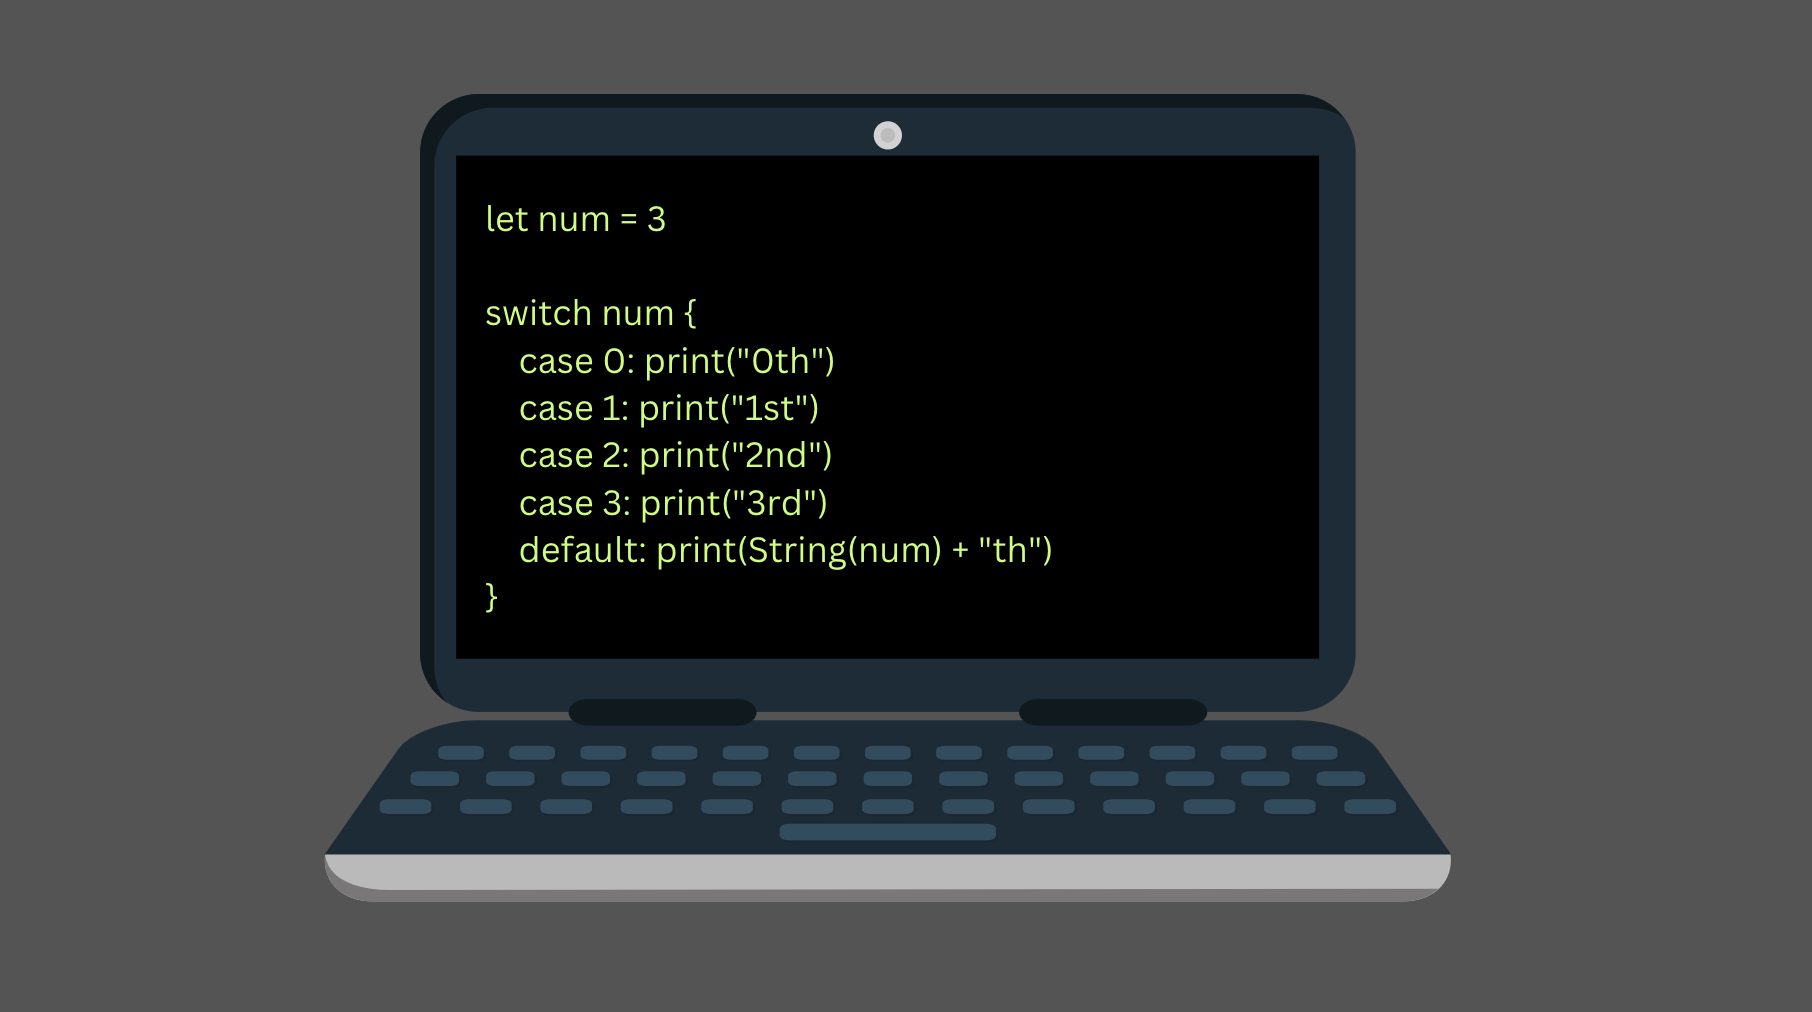
In this case, you can tidy up the code by replacing the if-else statement with a switch statement like this:
let num = 3

switch num {
    case 0: print("0th")
    case 1: print("1st")
    case 2: print("2nd")
    case 3: print("3rd")
    default: print(String(num) + "th")
}
In this guide, you learn how to use the switch statement in Swift to write cleaner code.
More importantly, you will learn when using the switch statement is a suitable option and when you should use an if-else statement instead.
Let’s jump into it!
The Problem with If-Else Statements
With if-else statements, your program can make decisions based on input and a condition.
If you have multiple conditions, you can add multiple else-if blocks into the if-else construct.
However, in some situations, this can make the code rather verbose and unreadable.
For example, take a look at this piece of code:
let c = "f"

if c == "a" {
  print("It is 'a'")
} else if c == "b" {
    print("It is 'b'")
} else if c == "c" {
    print("It is 'c'")
} else if c == "d" {
    print("It is 'd'")
} else if c == "e" {
    print("It is 'e'")
} else {
    print("It is something else")
}
This piece of code is trying to match a character.
As you can see, there is a whole bunch of parenthesis, square brackets, and else if statements. Even though there is nothing wrong with this approach, the code looks quite messy.
Your responsibility as a developer is to always write code that is easy to read and maintain.
Anyway, to fix the issue with the above if-else mess, you can use a switch statement.
Here is what the code looks like after we convert it to a switch statement:
let c = "f"

switch c {
    case "a": print("It is 'a'")
    case "b": print("It is 'b'")
    case "c": print("It is 'c'")
    case "d": print("It is 'd'")
    case "e": print("It is 'e'")
    default:print("It is something else")
}
Although there is a lot of repetition, this looks way cleaner than the if-else mess.
Let’s take a closer look at how the switch statement works in Swift.
Switch Statement in Swift
In Swift, the switch statement lets you compare a value with possible outcomes and perform actions based on the comparison.
The switch statement (sometimes also called the switch-case statement) follows this syntax:
switch someValue {
    case option1:
        //some code
    case option2:
        //some code
    default:
        //some code
}
Where:
- The switch keyword starts a switch statement.
- someValue is a value you want to compare against.
- The curly brackets { } define a block of code for checking the possible values.
- Inside the curly brackets, add a case keyword for each possible value followed by a colon.
- After the colon, specify the actions to take.
- After you have specified all the possible cases, specify a default block to the end of the switch statement. In this block, run some code if none of the above cases were triggered.
Notice that the switch cases do not fall through by default. In other words, the switch statement does not check the rest of the cases if it encounters a match.
Anyway, let’s see a simple example of a switch statement.
let coinToss = "heads"

switch coinToss {
    case "heads":
        print("It was a heads")
    case "tails":
        print("It was a tails")
    default:
        print("Not a valid result")
}
Output:
It was a heads
The value of the coinToss variable was heads, so the first case was triggered.
Now, let’s see what happens if the coinToss is neither heads nor tails.
If you now fix it, you are going to see another outcome:
let coinToss = "rerqweragdfssf"

switch coinToss {
    case "heads":
        print("It was a heads")
    case "tails":
        print("It was a tails")
    default:
        print("Not a valid result")
}
Output:
Not a valid result
The value of the coinToss parameter did not match with the cases. Thus, the default block was triggered.
So far you have only seen switch cases with single expressions that print a string.
It is important to understand that you can run any valid Swift code in the case blocks or the default block of the switch statement.
For example, let’s create a switch statement and mix it with an if-else statement in the default block:
let age = 17

switch age {
    case 17: print("Go to driving school.")
    case 18: print("You can finally drive.")
    default:
        if age < 17 {
            print("Children cannot drive")
        } else {
            print("Adults can drive")
        }
}
Output:
Go to driving school.
In this switch statement, you check if the age happens to be 17 or 18 to display a special message. If the age is not 17 or 18, you default to using a regular if-else to print info about driving at that age.
Now you understand how the switch statement works in Swift.
However, it may be confusing as to whether you should use an if-else statement or a switch statement.
Next, you are going to learn when you should use an if-else statement and when you should use a switch statement.
When Use If-Else and When Use Switch
As a rule of thumb, use a switch statement when you can make the code look better and cleaner.
For example, if you have multiple conditions in else-if blocks, you can try to convert it to a switch statement.
Let’s see an example.
Take a look at this simple if-else statement:
let age = 10

if age < 20 {
    print("Less than 20")
} else {
    print("Greater or equal to 20")
}
This code looks clean and readable.
Thus, do not convert it to a switch statement!
In this particular case, you would need to switch on the age comparison which makes the code look bad:
switch age < 20 {
    case true: print("Less than 20")
    case false: print("Greater or equal to 20")
    default: print("Invalid format")
}
So keep it simple!
As another example, consider checking directions:
let direction = "north"

if direction == "north" {
    print("Drifting to North")
} else if direction == "east" {
    print("Going to East")
} else if direction == "south" {
    print("Heading to South!")
} else if direction == "west" {
    print("Going to West")
} else {
    print("Unsupported")
}
Although there is nothing wrong with this code, you can make it look better with a switch statement:
let direction = "north"

switch direction {
    case "north": print("Drifting to North")
    case "east": print("Going to East!")
    case "south": print("Heading to South!")
    case "west": print("Going to West!")
    default:print("Unsupported")
}
Conclusion
Today you learned how to use the switch statement in Swift.
To recap, the switch statement is a replacement for a lengthy if-else statement with multiple conditions.
You should only use the switch statement if you can make the code look cleaner.
Most of the time, especially as a beginner, it is completely fine to use an if-else statement and forget about the switch statement.
However, you are going to see the switch statement quite often. Thus, it is good to learn such an alternative exists already.