To resize an image using OpenCV, use the cv2.resize() function.
To do this:
- Read an image into your program.
- Specify a scaling factor.
- Multiply the width and the height by the scaling factor.
- Call cv2.resize() function with the new dimensions
Here is a quick cheat sheet for resizing images in four ways:
# Read the image
img = cv2.imread('image.jpeg')

# Scale down to 25%
p = 0.25
w = int(img.shape[1] * p)
h = int(img.shape[0] * p)
new_img = cv2.resize(img, (w, h))

# Scale up to 150%
p = 1.5
w = int(img.shape[1] * p)
h = int(img.shape[0] * p)
new_img = cv2.resize(img, (w, h))

# Change width only
w = 400
h = img.shape[0]
new_img = cv2.resize(img, (w, h))

# Change height only
w = img.shape[1]
h = 300
new_img = cv2.resize(img, (w, h))
Next, let’s take a closer look at resizing images with OpenCV.
In this guide, you learn what image resizing means, and how to do it using OpenCV in Python. We are going to perform:
- Downscaling
- Upscaling
- Width-only resizing
- Height-only resizing
Also, we are going to talk about scaling factors and interpolation.
Resizing Images with OpenCV + Python
When changing the size of an image, it is important to know the original aspect ratio of the image. This is because usually, you want to make the output image look the same except for the size.
When shrinking the image, the pixels need to be resampled. This is because as the size shrinks, the number of pixels cannot stay the same. Therefore you have to “remove the excess pixels”.
And when scaling up the image, the program has to add new pixels. Otherwise, scaling up would not be possible because there are not enough pixels to grow the image.
When using OpenCV, there are multiple techniques you can use to alter the size of an image. These techniques make the image look as nice as possible when the size changes.
Before modifying images, you need to learn how to read an image to the program in the first place.
Reading an Image with OpenCV
To read an image using OpenCV, you need to import the OpenCV library and use the imread() function.
The imread() function takes the path of the image as an argument.
If your Python script is on the same file as the image, you only need to specify the name of the image as the path.
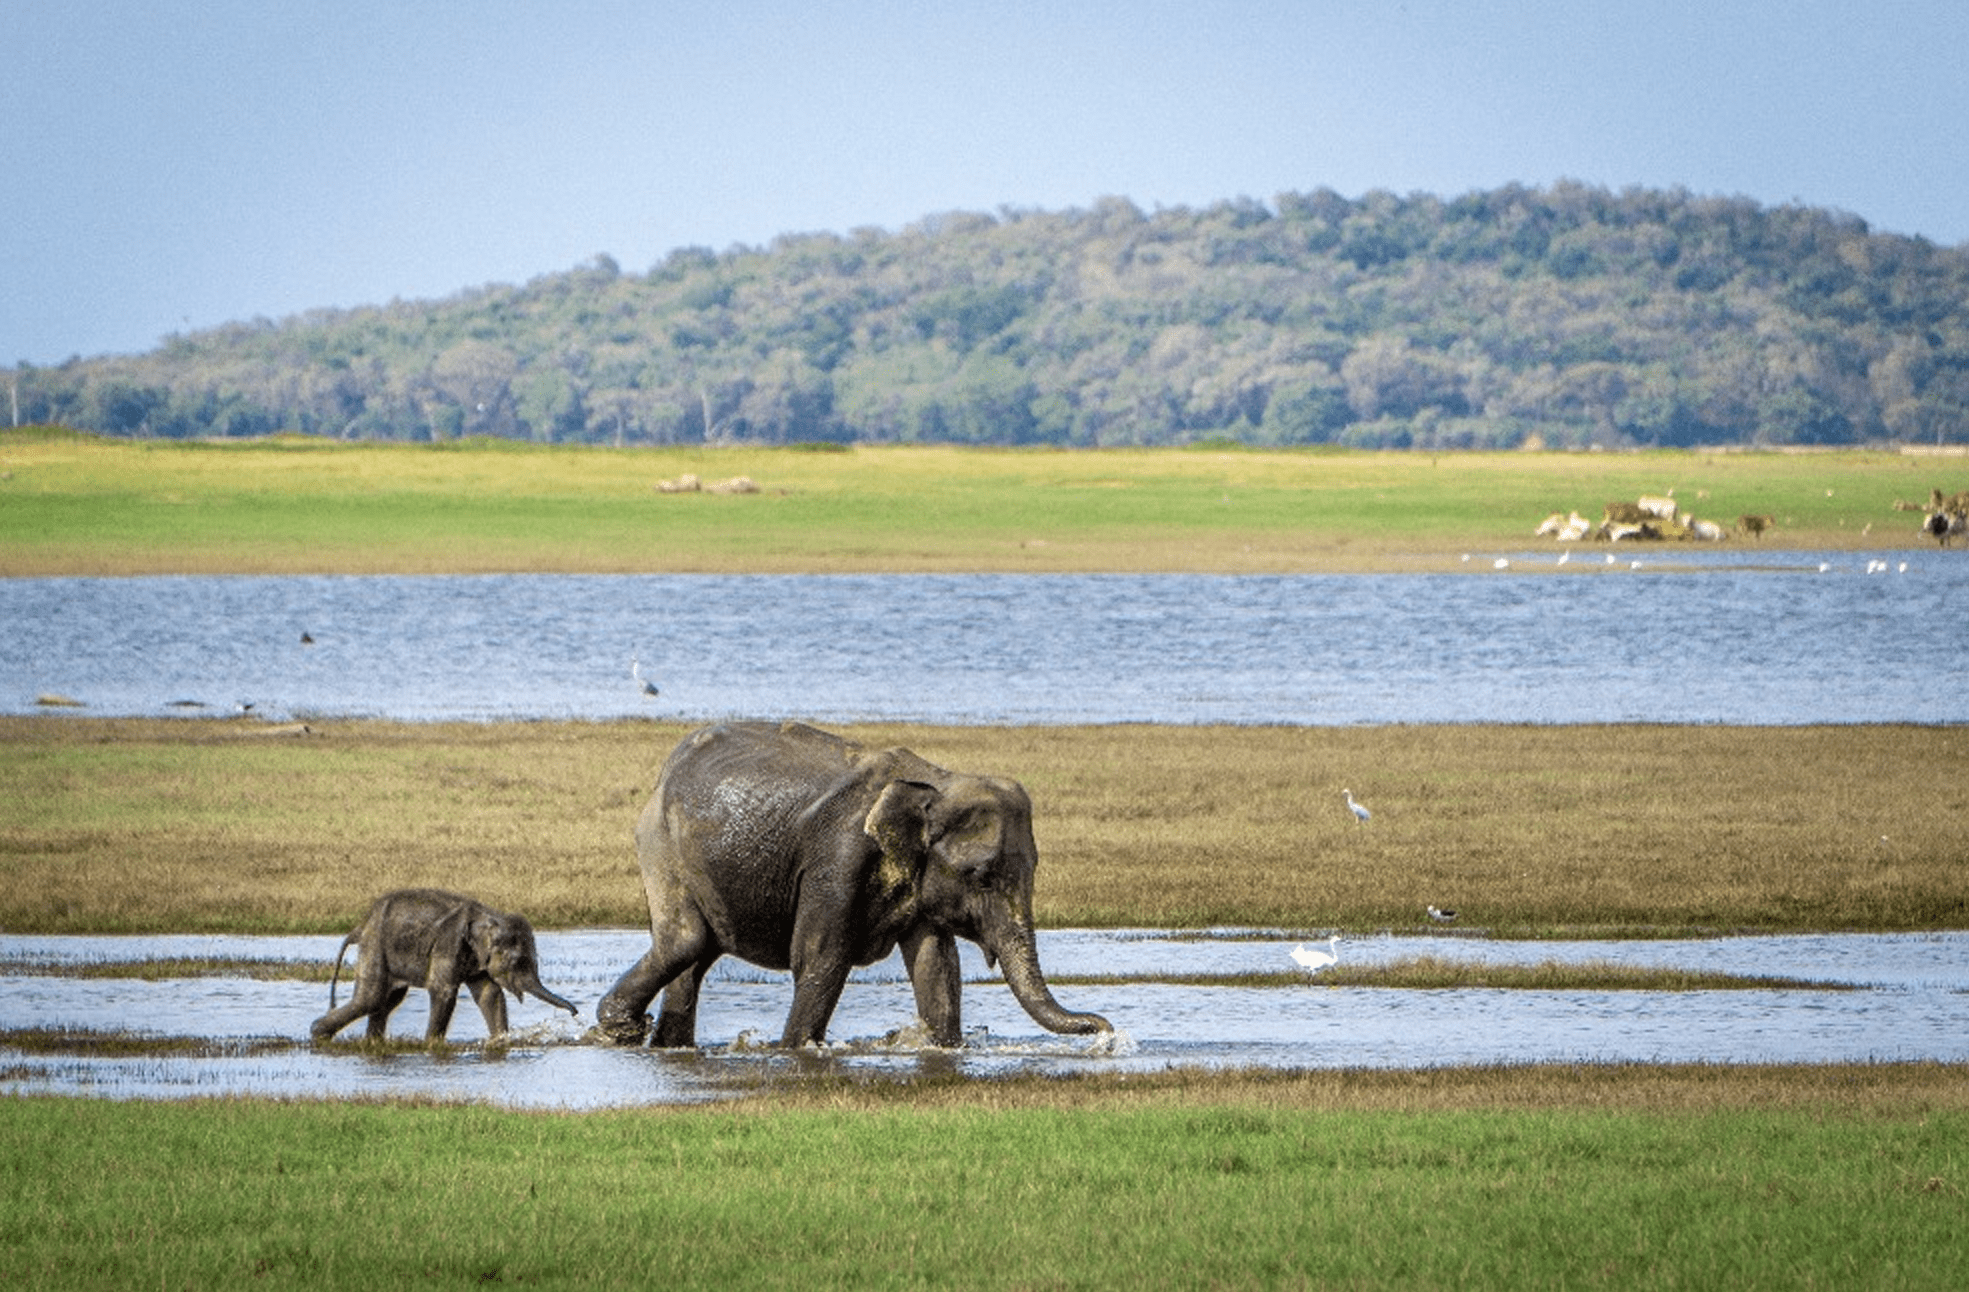
In this guide, we are working with the following image:
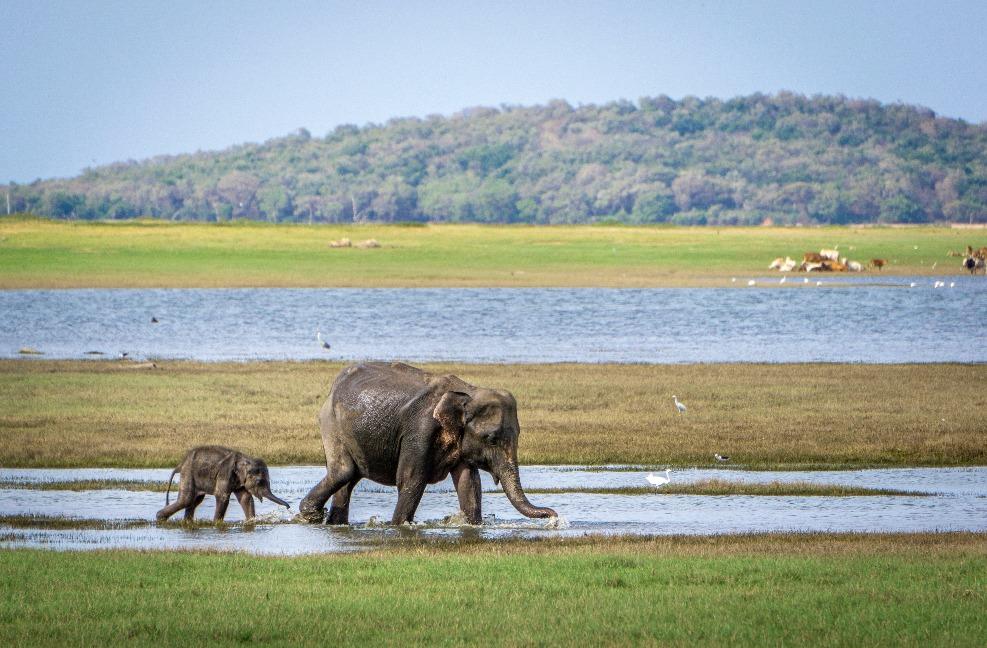
For example, if your script is on the same folder with “image.jpeg” you can read the image into your program by:
import cv2

img = cv2.imread('image.jpeg')
Now that you have read the image, let’s resize it.
Resize an Image with cv2.resize() Function
To resize images with OpenCV, use the cv2.resize() function. It takes the original image, modifies it, and returns a new image.
The syntax of the cv2.resize() function is:
cv2.resize(src, dsize, fx, fy, interpolation)
Where:
- src is the source of the image.
- dsize is the desired size of the output image. This is a tuple of two integers.
- fx [optional] scale factor along the horizontal axis.
- fy [optional] scale factor along the vertical axis.
- interpolation [optional] flag that determines how the output pixels are arranged.
To keep it simple, we are only going to use these two parameters at first:
- src
- dsize
In other words, we are going to call the cv2.resize() function with the following syntax:
cv2.resize(src, (new_width, new_height))
(new_width, new_height) is the dsize parameter from the original syntax.
Let’s start by downscaling our image.
Downscaling with OpenCV
One way to change the size of your image is by downscaling it. This means you keep the aspect ratio of the image but make the image smaller.
To do this, specify a scaling factor that is less than 1.
Then multiply both the width and the height of the original image by the scaling factor.
Finally, call the cv2.resize() function with downscaled width and height.
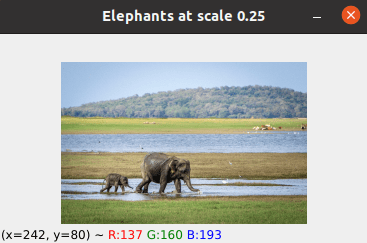
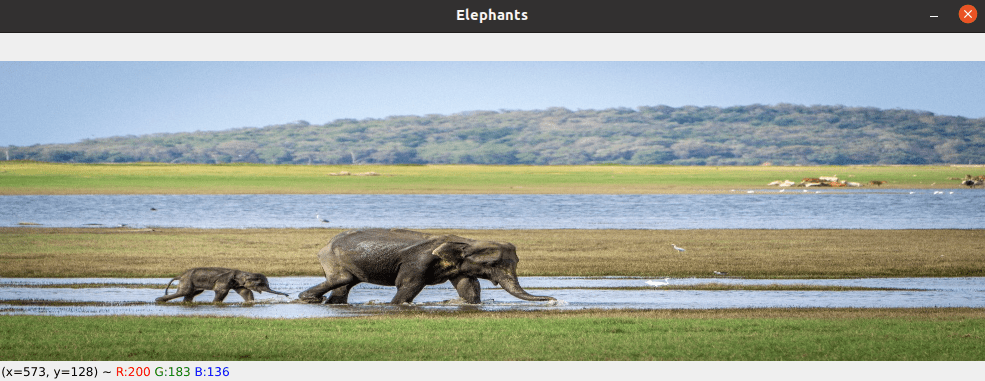
For instance, let’s scale the image down to 25% of the original size and show it using the imshow() function.
import cv2

img = cv2.imread('image.jpeg')

p = 0.25
new_width = int(img.shape[1] * p)
new_height = int(img.shape[0] * p)

resized = cv2.resize(img, (new_width, new_height))

cv2.imshow(f"Elephants at scale {p}", resized)

# Hide the image window with any key press
cv2.waitKey()
cv2.destroyAllWindows()
Output:
Then let’s take a look at how to upscale the image.
Upscaling with OpenCV
Another way to change the size of your image is by upscaling it. This means you keep the aspect ratio of the image but make the image bigger.
To do this, specify a scaling factor that is greater than 1.
Then multiply both the width and the height of the original image by the scaling factor.
Finally, call the cv2.resize() function with upscaled width and height.
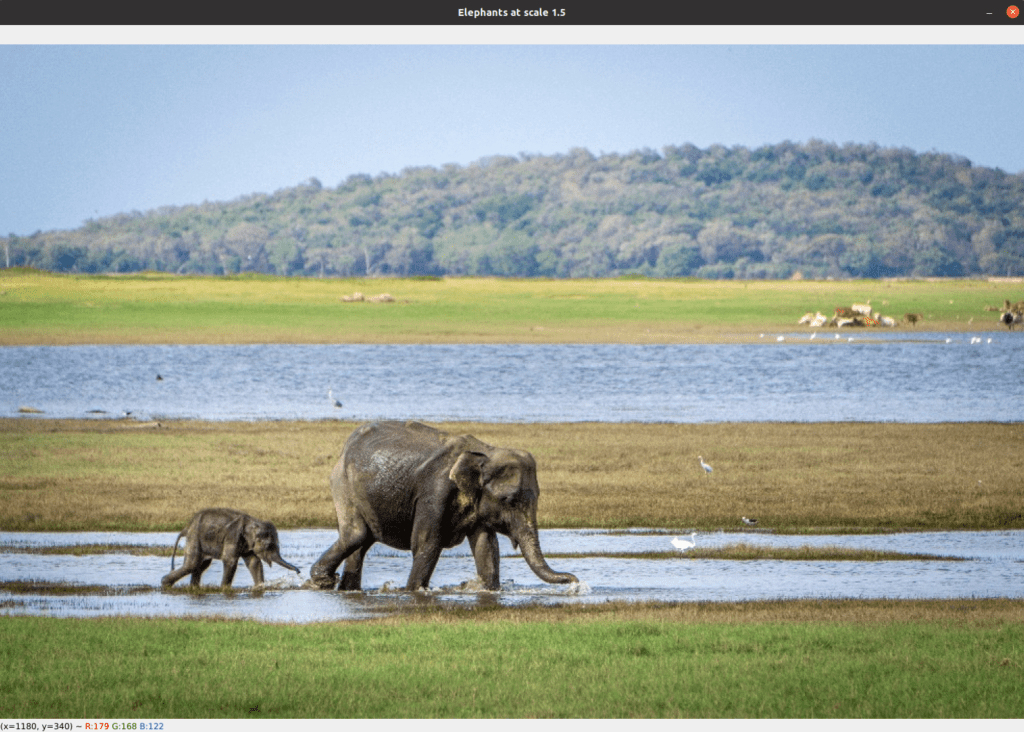
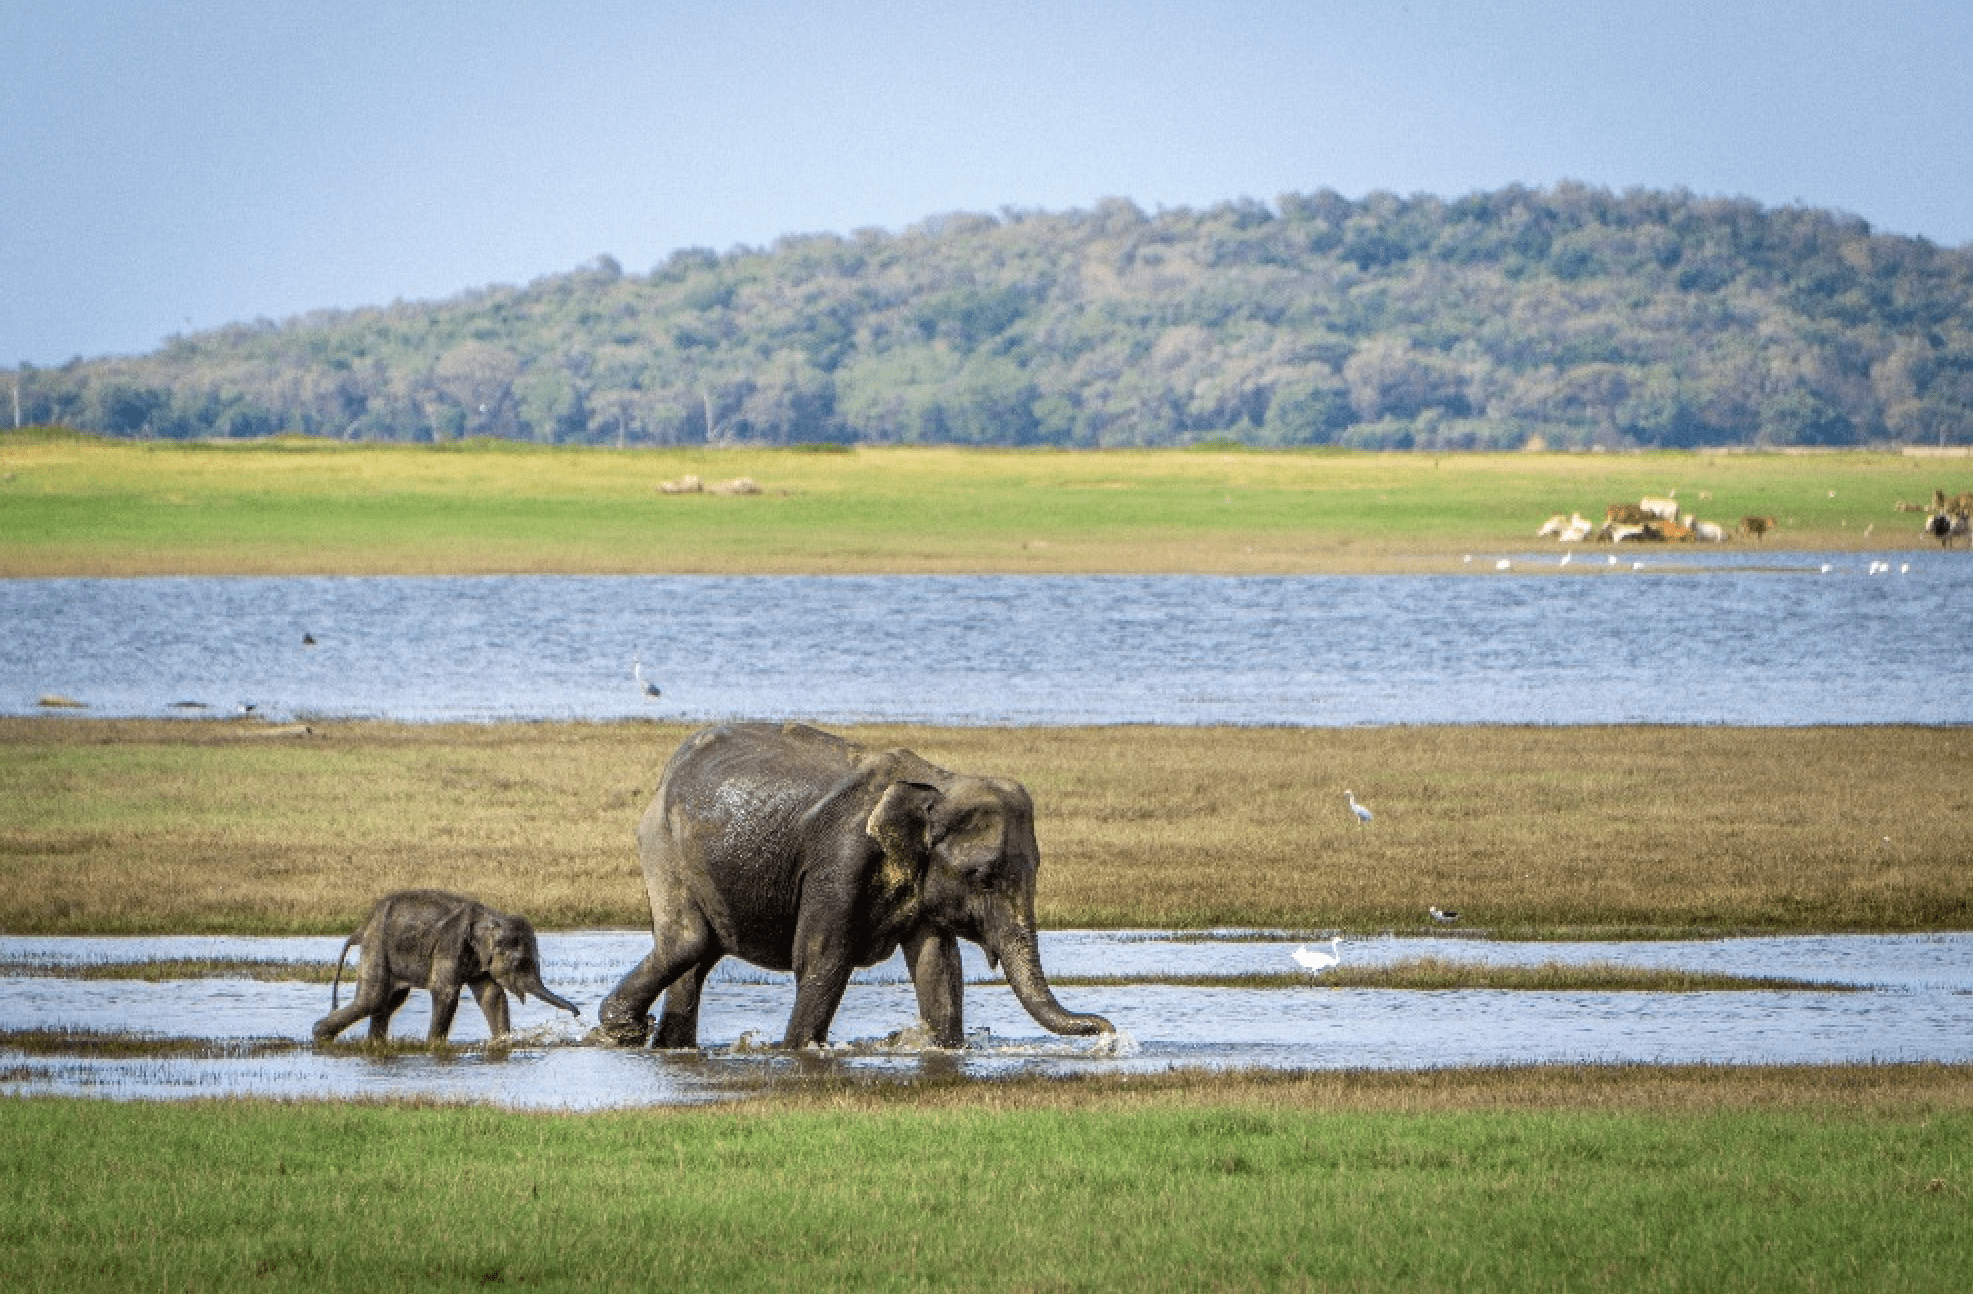
For instance, let’s scale the image up to 150% of the original image:
import cv2

img = cv2.imread('image.jpeg')

p = 1.5
new_width = int(img.shape[1] * p)
new_height = int(img.shape[0] * p)

resized = cv2.resize(img, (new_width, new_height))

cv2.imshow(f"Elephants at scale {p}", resized)

cv2.waitKey()
cv2.destroyAllWindows()
Output:
Now you understand how to upscale and downscale images using OpenCV and Python.
Next, let’s take a look at how to resize an image by only changing the width or the height of the image.
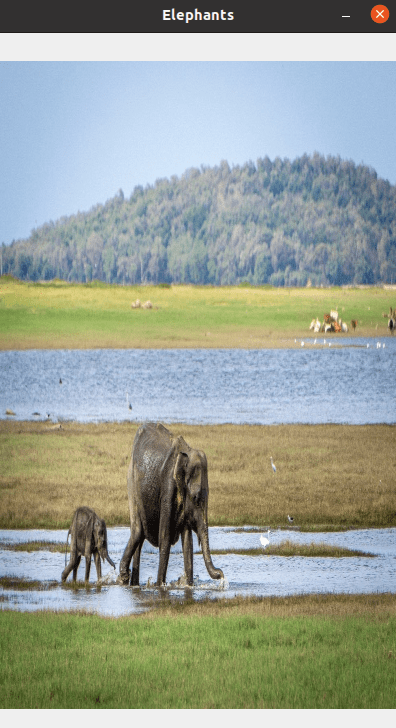
Change Width Only
If you want to change the width of the image, call the cv2.resize() function with the original height and a custom width.
For example:
import cv2

img = cv2.imread('image.jpeg')

new_width = 400

resized = cv2.resize(img, (new_width, img.shape[0]))

cv2.imshow("Elephants", resized)

cv2.waitKey()
cv2.destroyAllWindows()
Output:
Finally, let’s take a look at how you can change the height of the image only.
Change Height Only
If you want to change the height of the image, call the cv2.resize() function with the original width and a custom height.
For example:
import cv2

img = cv2.imread('image.jpeg')

new_height = 300

resized = cv2.resize(img, (img.shape[1], new_height))

cv2.imshow("Elephants", resized)

cv2.waitKey()
cv2.destroyAllWindows()
Output:
Awesome! Now you understand the basics of resizing an image using OpenCV and Python.
Next, let’s take a look at another approach to scaling the images using scaling factors.
Scaling Factors
Previously you learned how to scale the image by specifying a scaling coefficient as a separate variable and by multiplying the original dimensions with it.
But there is an alternative way, which is perhaps a bit more aesthetic when it comes down to code quality.
The syntax for the cv2.resize() function includes two optional parameters fx and fy. These are the scaling factors in the x and y-direction.
cv2.resize(src, dsize, fx, fy, interpolation)
Instead of specifying the new dsize, you can use fx and fy as the scaling factors.
For instance, to scale the image down to 25% of the original size, you can specify the scaling factor as before. But instead of multiplying the original image dimensions by it, you can set the scaling factor to fx and fy directly.
If you do this, set the dsize argument None.
import cv2

img = cv2.imread('image.jpeg')

p = 0.25

resized = cv2.resize(img, None, fx=p, fy=p)

cv2.imshow("Down-Scaled Image", resized)

# Hide the image window with any key press
cv2.waitKey()
cv2.destroyAllWindows()
Output:
OpenCV Interpolation Methods
The last topic we are going to discuss in this tutorial is interpolation methods.
When scaling up images, interpolation is needed.
This is because otherwise, the program would need to draw new pixels out of thin air when scaling the image up.
As you might remember, the syntax of cv2.resize() includes an optional parameter interpolation.
cv2.resize(src, dsize, fx, fy, interpolation)
These interpolation methods are used for image resizing to retain the quality of the image.
Each interpolation method has its own draws and cons. One can be fast but produce poor results. The other might be slow but produce higher quality results.
You should pick an interpolation method based on what you need. If you want to scale up to many images as fast as possible, be prepared to sacrifice quality. If you want to keep the quality, be prepared to lose efficiency.
Here are the interpolation methods provided by OpenCV:
-
cv2.INTER_AREAuses pixel area relation for resampling. This is the best method for reducing the size of an image. When used for zooming into the image, it uses theINTER_NEARESTmethod. -
cv2.INTER_CUBICuses bicubic interpolation for resizing. This method performs calculations based on the 4×4 neighboring pixels for the pixels. It takes the weighted average of these 16 pixels to create a new pixel. -
cv2.INTER_LINEARis similar to theINTER_CUBICinterpolation. However,INTER_CUBIConly uses 2×2 neighboring pixels to get the weighted average for the pixels. -
cv2.INTER_NEARESTuses the nearest neighbor concept for interpolation. This uses only one neighboring pixel from the image for interpolation.
Let’s compare the results of each interpolation type. These images are rendered with the following code that scales the original image up to 200%:
import cv2

img = cv2.imread('image.jpeg')

p = 2.0
new_width = int(img.shape[1] * p)
new_height = int(img.shape[0] * p)

resized = cv2.resize(img, (new_width, new_height), interpolation = cv2.INTER_NEAREST)
# resized = cv2.resize(img, (new_width, new_height), interpolation = cv2.INTER_LINEAR)
# resized = cv2.resize(img, (new_width, new_height), interpolation = cv2.INTER_CUBIC)
# resized = cv2.resize(img, (new_width, new_height), interpolation = cv2.INTER_AREA)

cv2.imshow(f"Elephants at scale {p}", resized)

cv2.waitKey()
cv2.destroyAllWindows()
Feel free to comment out/uncomment a line based on which interpolation method you want to use.


Because the images are small here, there is no clear difference. However, the difference is there.
For instance, the first image is clearly sharper than the last image.
To keep it on scope, we are not going to talk about the interpolation methods more.
To see the difference in the interpolation methods more clearly, feel free to check this article.
Conclusion
Today you learned how to resize images using OpenCV and Python.
To recap:
- To scale up/down, specify a scaling factor and multiply the width and height by it in the cv2.resize() function.
- To only change the width, call cv2.resize() with the original height and a custom width.
- To only change the height, call cv2.resize() with the original width and a custom height.
To adjust the quality of the output image, experiment/study different interpolation methods available in OpenCV.
Thanks for reading.
Happy coding!